


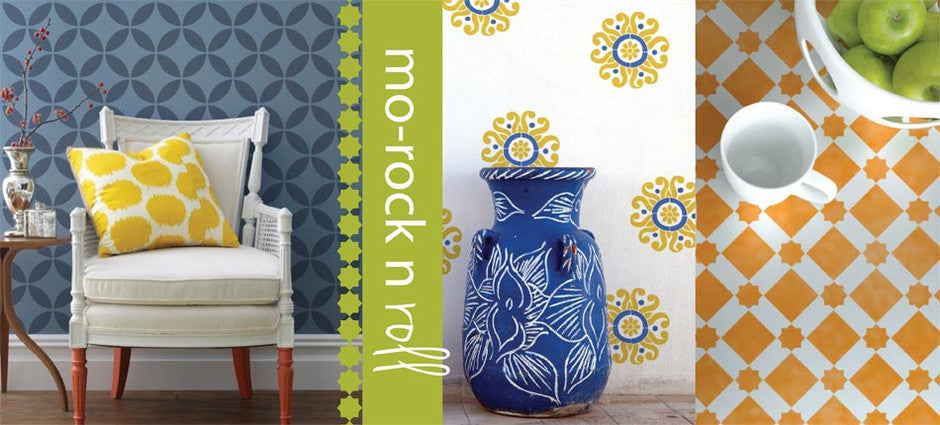
Stencils from Royal Design Studio


Paint from Jolie Design & Decor – Annie Sloan Unfolded
Email: joliedesign@anniesloanunfolded.com
This is a US company (based in New Orleans!) for Annie Sloan Chalk Paint
Annie Sloan Paint is nicknamed ‘the girl paint’ because no prep needed to create a vintage look fir furniture, floors, and cabinets – or walls
Annie Sloan herself is one of the world's leading experts in decorative paint techniques and she just completed a workshop tour of the USA - 8 cities with 200 people at each workshop. Her Chalk Paint has become the 'go-to' product for home décor enthusiasts and DIYers, with the blogosphere going crazy! Why? Because it is so easy to use and the results are so amazing. NO sanding or priming is needed to transform old pieces of furniture, for example, into something new and wonderful.


IF YOU ARE STENCILING A WALL
Before beginning any stenciling project, it is important that the wall surface be prepared properly. It is best to stencil walls that are as smooth as possible. If the wall is not smooth the stencil will not produce clean, crisp designs.
Repair minor and major cracks, and other damaged areas. Cover with a fresh coat of either latex or oil-base paint. I strongly recommend flat paint. Stencil paints will adhere more readily to flat paint versus a semi-gloss paint. In high traffic areas, such as kitchens and bathrooms, a semi-gloss is acceptable. If you experience difficulty with your stencil paint sticking to your base coat, lightly sand the area you will be stenciling. I do not recommend using high-gloss paint.
POSITIONING YOUR STENCILS
- Begin stenciling in the least noticeable corner of your room.
- Position your stencil and secure firmly in place, using either spray adhesive or masking tape. If you are using spray adhesive, apply a light layer of adhesive to the back of the stencil, allow to dry until the surface becomes tacky, then position your stencil. If you are using masking tape, two small pieces are usually sufficient depending on the size of the stencil.
- Pour a small amount of paint on a plate or palette, about the size of a quarter. Dip just the tips of your bristles into the paint. With a circular motion, remove excess paint on a paper towel until the brush is "dry". Too much paint on the brush causes blotchy designs.
- Remember - stenciling is a "dry" brush technique. The most common mistake is overloading your brush. It is far better to build up the color gradually, layer by layer, instead of one thick paint application. If paint begins to seep behind your stencil or if your designs do not have crisp defined edges, you are using too much paint
STENCILING A PILLOW
You can use a pillow case you already have, or you can make your own. Below is how to make a drop cloth pillow:
All you need is:
- Drop cloth ($11 at Lowes) This will make about 5 pillows!!!
- Stencil
- Stencil brush or a roller
- Fabric paint
- Scissors
- Cut 2 squares 1 inch larger that your pillow on all sides. (if you want your pillow to be 18”, then cut a 20” square).
- Wash and iron the drop cloth squares and lay them out on a large work surface. Make sure you lay down some cardboard or plastic so that your work surface will be protected.
- Position your stencil and use tape to secure it in place.
- Use a stencil brush paint on your design. DO NOT USE A LOT OF PAINT
- Carefully lift up the stencil and let the paint dry.
- Sew the squares together to make your own custom pillow
CLEAN UP
After your stenciling project, your paint palette, stencils and brushes can all be cleaned with soap and warm water. Careful cleaning and drying of your stencil brushes will enable them to be used again and again

No comments:
Post a Comment